

Warning: I fell asleep while writing this (at step 9) AC stopped working months ago, possibly unnoticed over the winter. I’ve just been dealing with it without AC with windows open and the headliner flopping in the wind with corkscrew pins holding the headliner up. Gotta pay the kids tuition. “Truck” still works and I’ve got other cars. So...
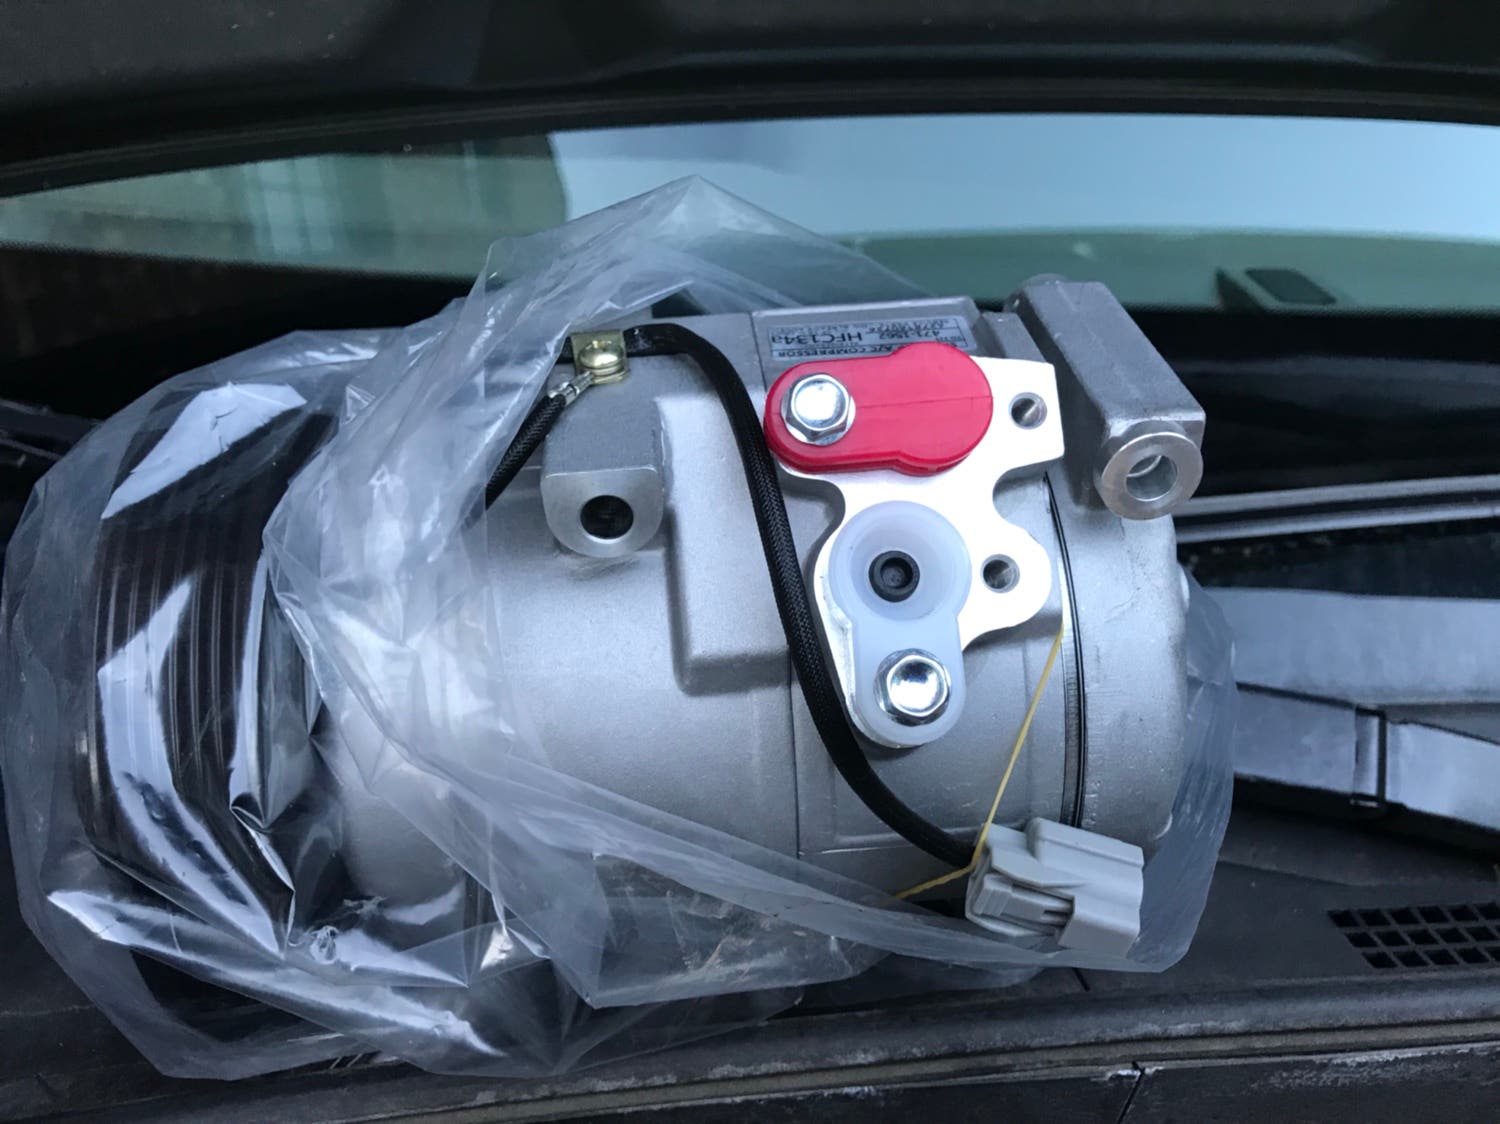
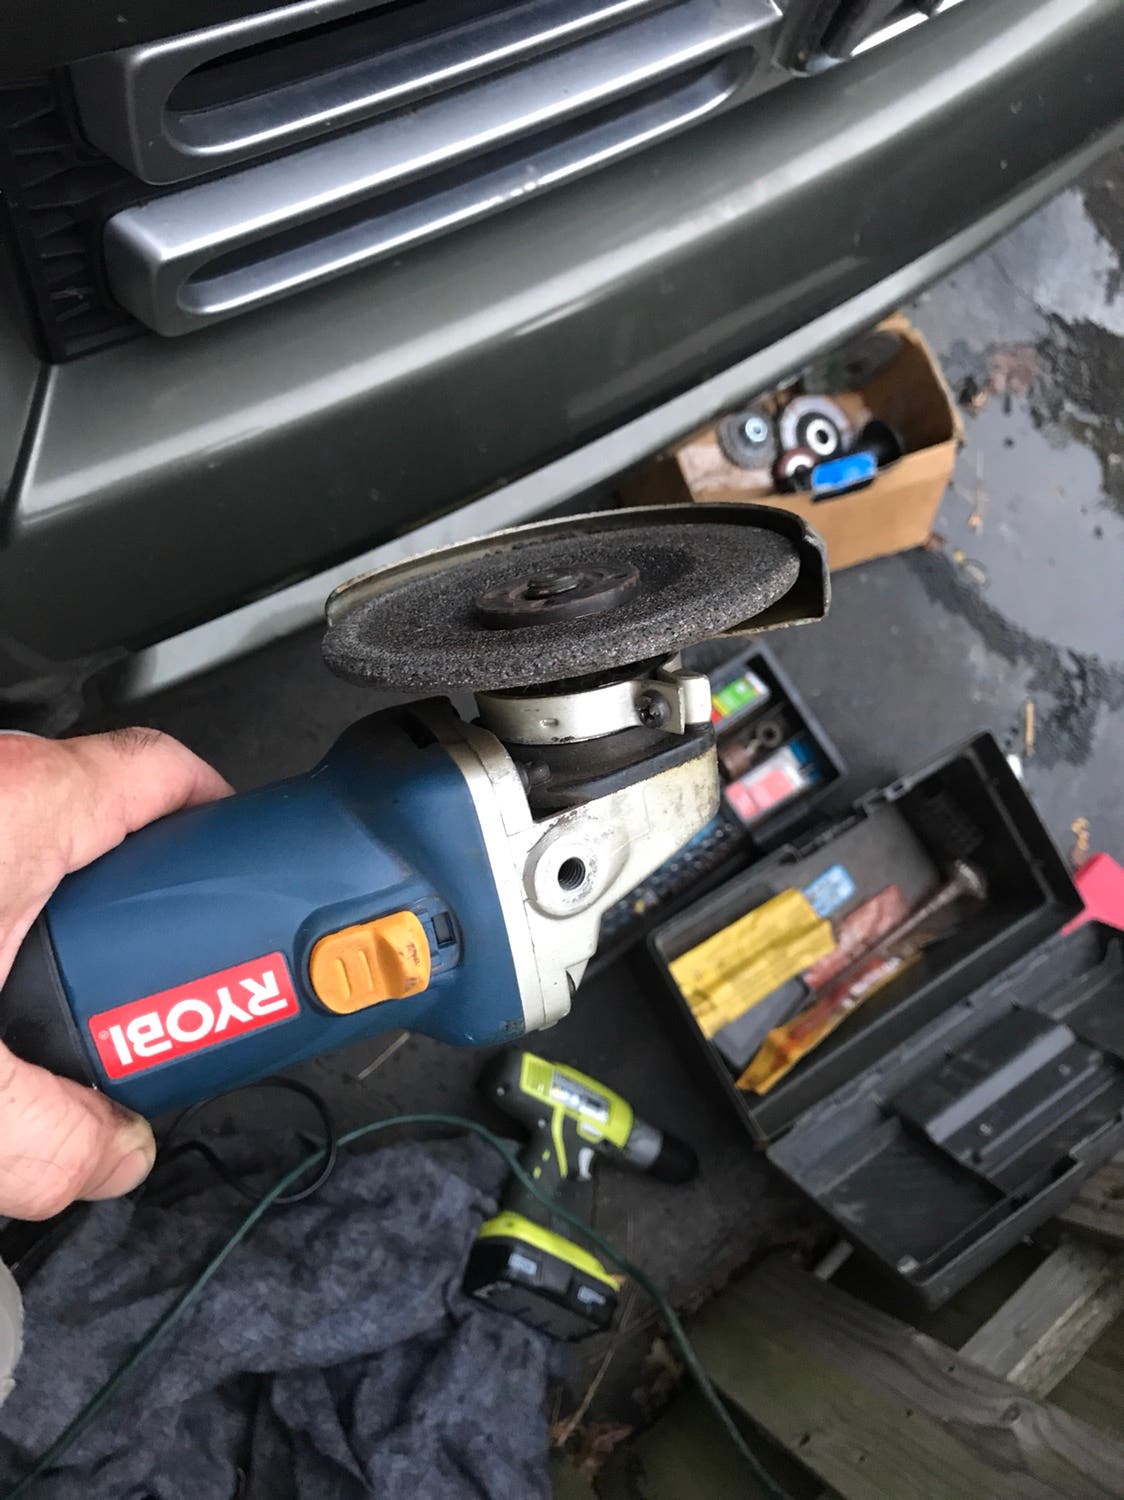
Well my wife reminds me that I need to pickup my son and nephew at camp, and the classic roadster won’t work, and there’s a heat wave coming. Add Friday beach traffic, and I could be in for “worst uncle ever” award. So I scrambled to get my system vacuumed at my brother’s brother-in-law’s shop. He’s too busy to do the job any time soon (which is why it still hasn’t been fixed). He ordered me a compressor we hoped would arrive last night, but it came this morning, some cheap thing, not as cheap as eBay, but it arrived in less than ~15 hours. I got it today (Thurs) around 5 pm, and began my project around 6:45 pm. Fortunately I have no fender liners or under-shield/belly-pan installed while I monitor the oversized tires. I’ve got a service manual for my wife’s 2007 Pilot and took a look at steps.
Remove alternator? Really?
I took a look underneath and considered trying to remove the compressor from the bottom, but since I’d done the alternator on my wife’s pilot twice, I figured I could do that fast. I’m really glad I did. And I’m glad I had the bottom “pan” out too as it allowed me easy access to the compressor’s two bottom mounting bolts. The inside one was really corroded too. Removing and installing the alternator turned out to be the easiest part of the removal/install. Overall, the job was harder than expected though.
1) remove serpentine belt by cranking counterclockwise on the top idler (tensioner) pulley. I used the most shallow 1/2” drive socket I had and still bent some useless metal bracket.
2) remove the Power steering fluid mount (10mm) and put parts in the box the compressor came in.
3) remove alternator wiring (10mm bolts) and the two 12mm bolts on top that connect the alternator to the bracket, and the bracket to the motor.
4) remove the one bottom 15mm alternator mounting bolt, and wiggle the alternator out. Send it over to the passenger side where you unmonitored the PS fluid reservoir and its bracket. I removed the plastic cover for the PS fluid too.
5) unplug AC compressor wires. I disconnected at the clutch (but later realized that there’s a connection on the fan where the new compressor connects. My compressor came with a wire that barely reached that.
![Image]()
. “Barely” was good enough after rearranging the metal clip holding the wire.)
6) Disconnect the low side line with the single 10mm bolt. Tape off the end to keep moisture and debris out.
7) now this is where it starts to get interesting...
Notice that the high side has a crazy connection on it, and inspect all the bolts. Notice that a 5 mm is too small, a 6 mm is too big. Even a 5.5 mm wiggles. 7/32 seemed to maybe fit better, but both were stripping the tiny nuts:
Think. Think. Think.
Well, it’s not like leaving the Compresor mounted is stopping those tiny bolts from stripping. So...
8) remove the four compressor mounting bolts.
The bottom were very easy to get from under the truck with the plastic guard removed.
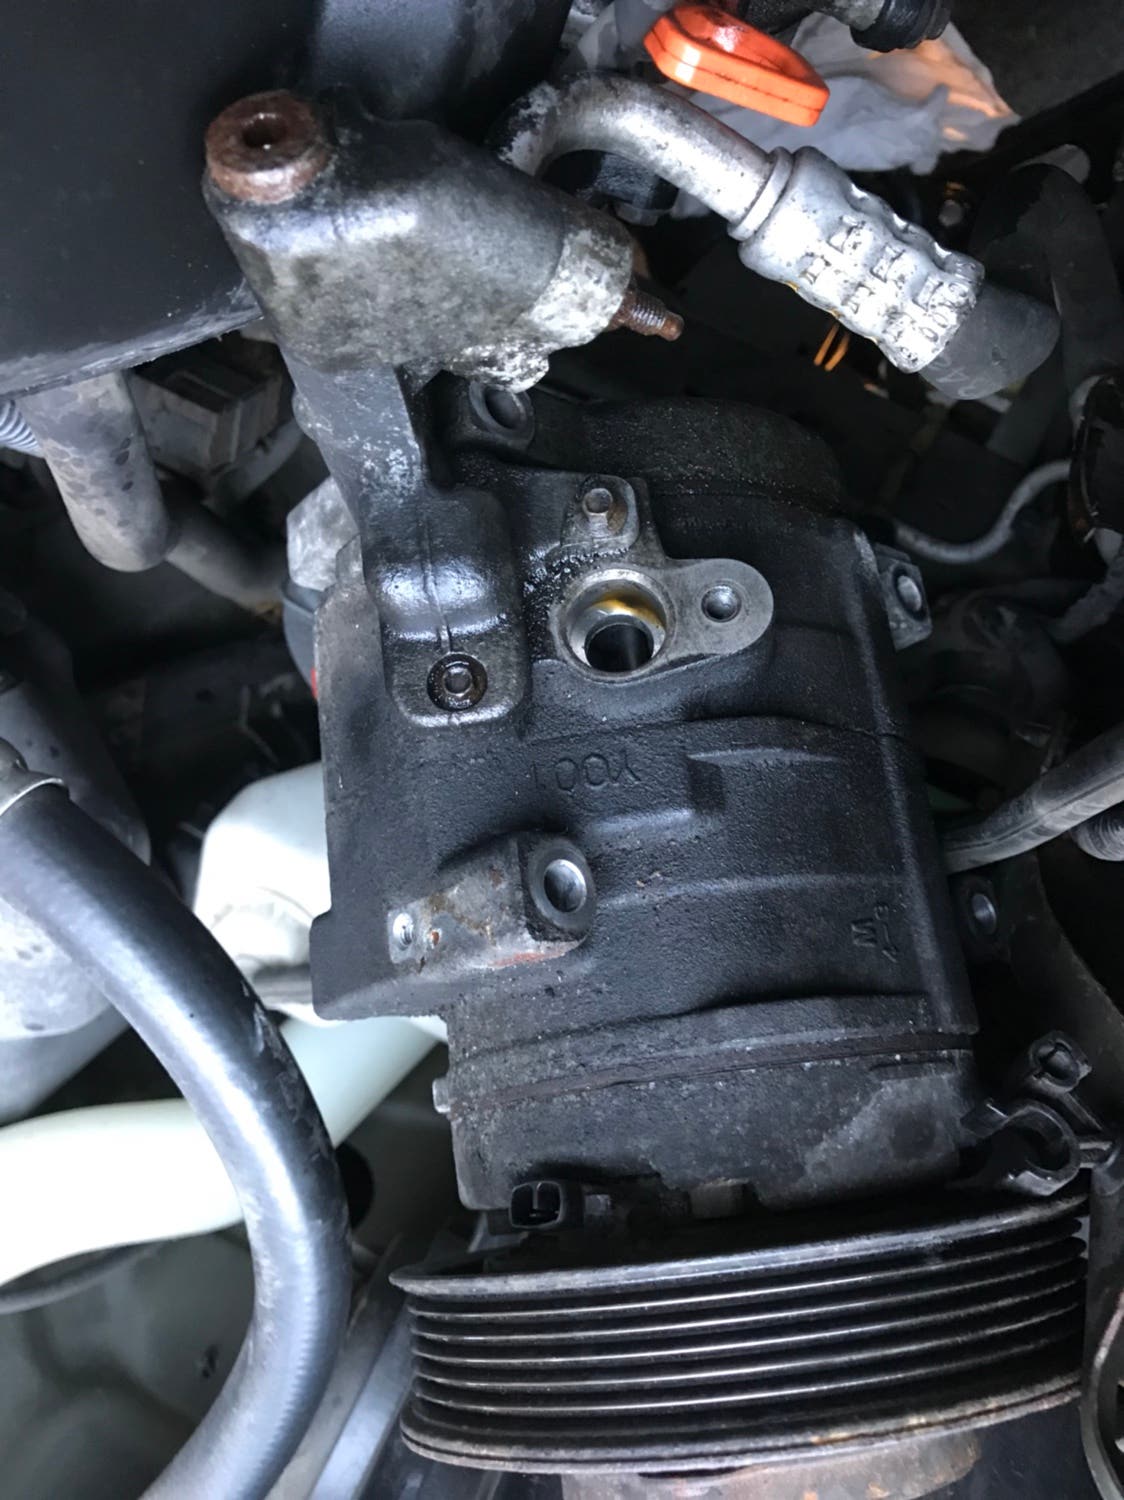
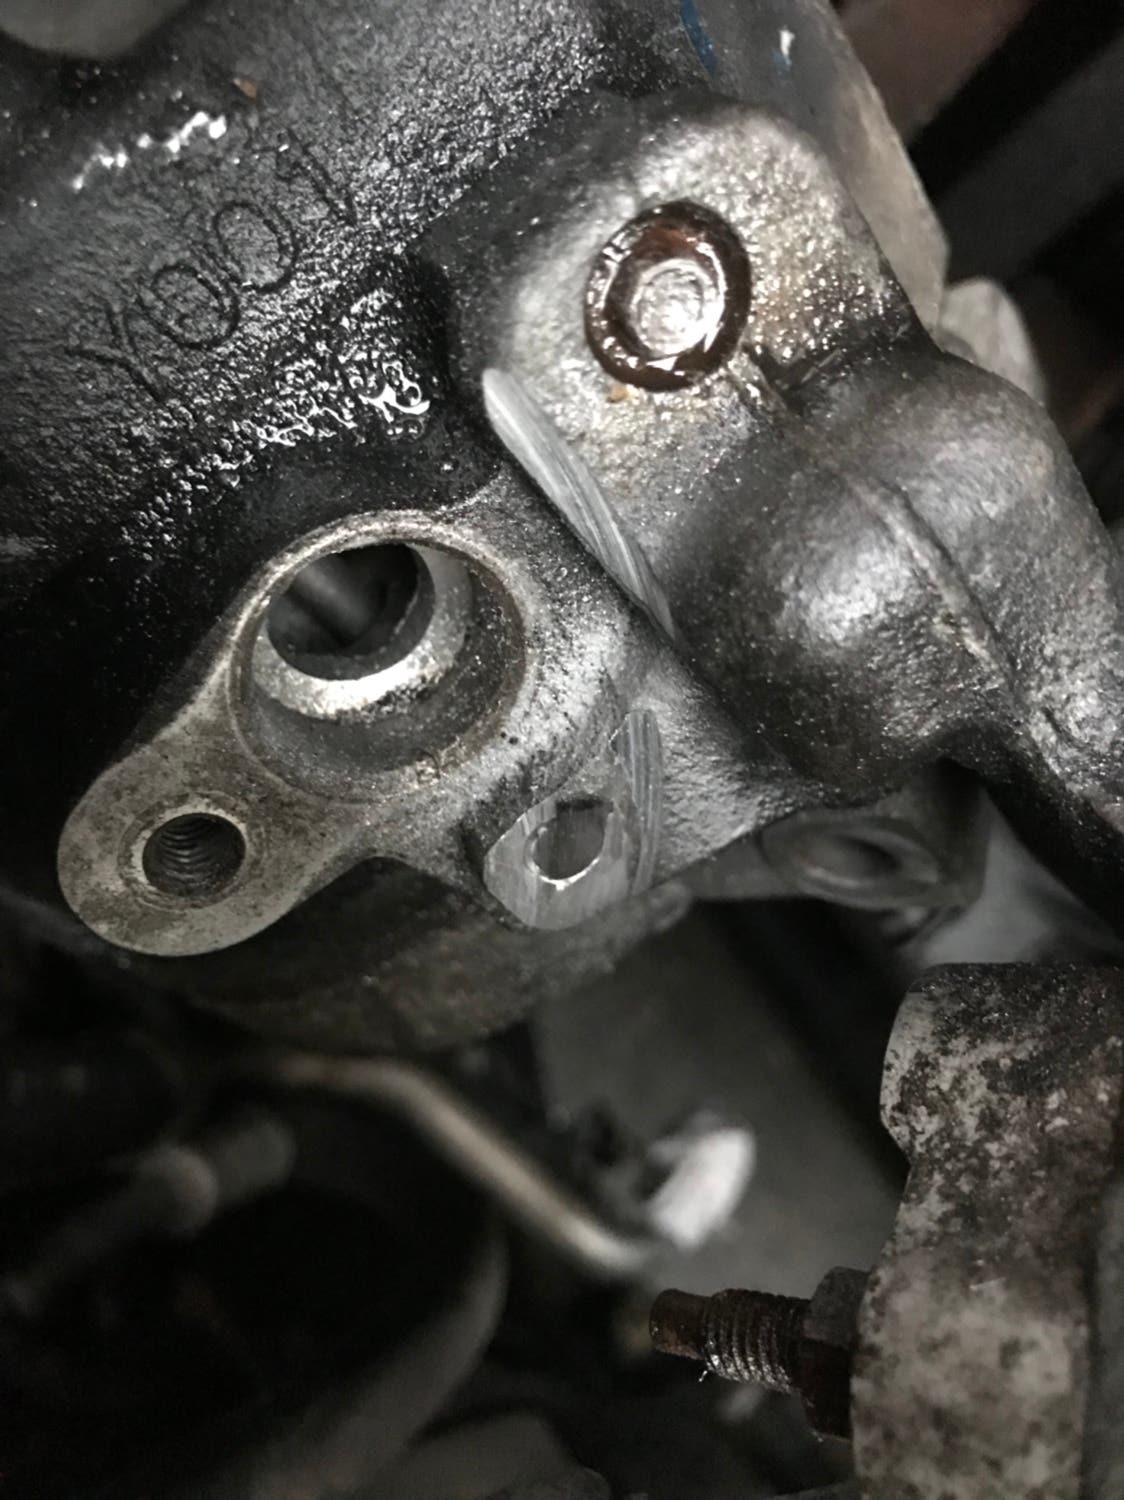
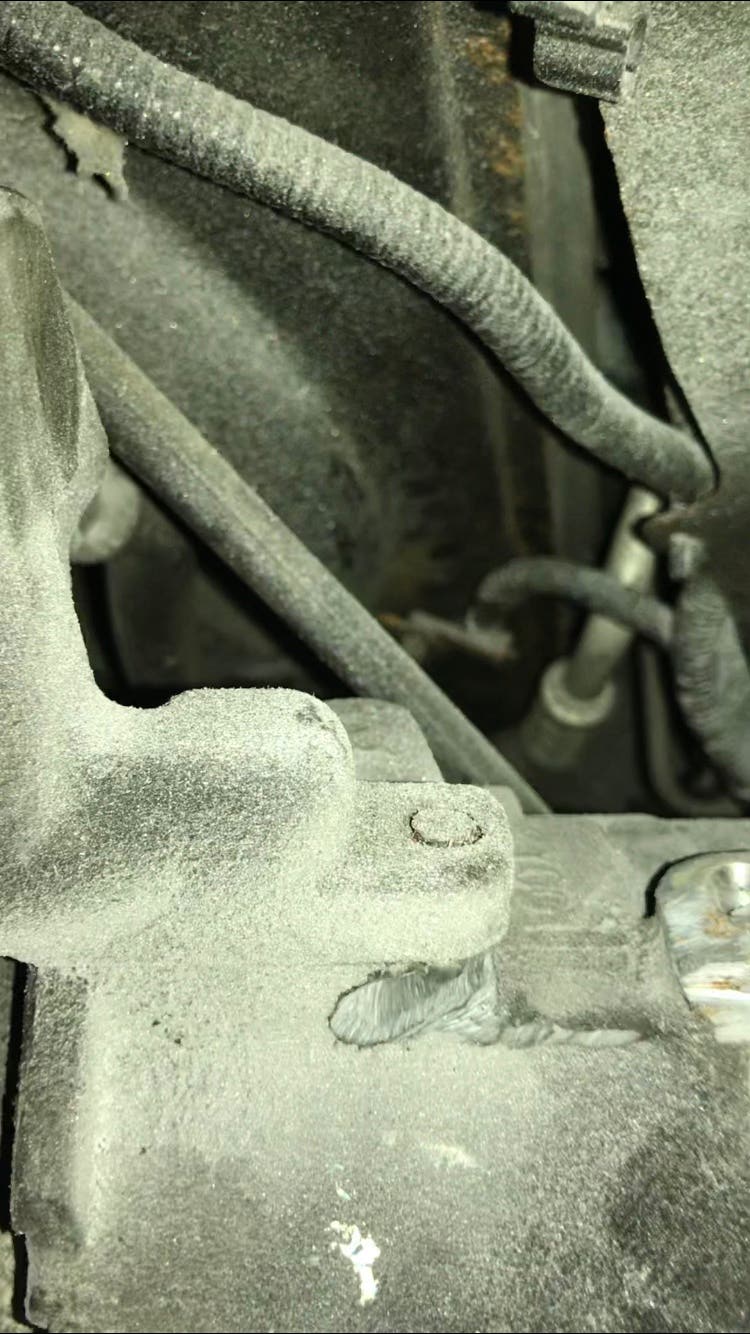
9) now with the high side still connected, raise up the compressor for a closer look.
![Image]()
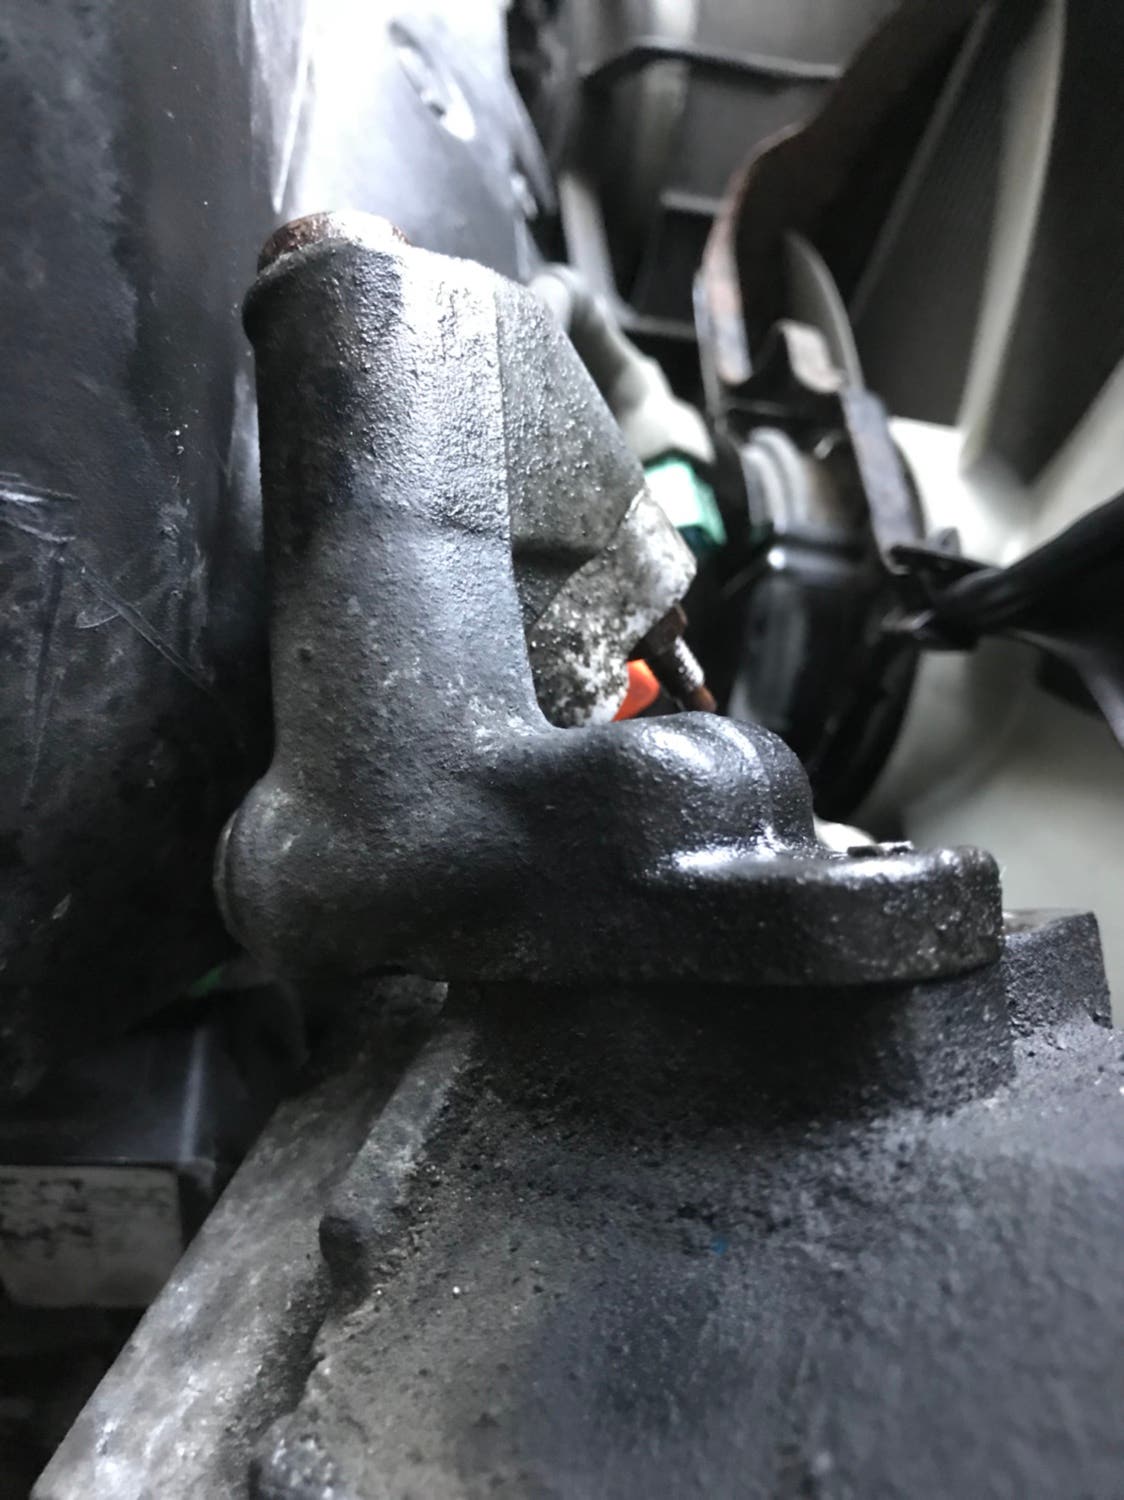
10) Fail at trying to drill the head out of the top bolt that is recessed. Then take a better look at what can and can’t be damaged.
![Image]()
![Image]()
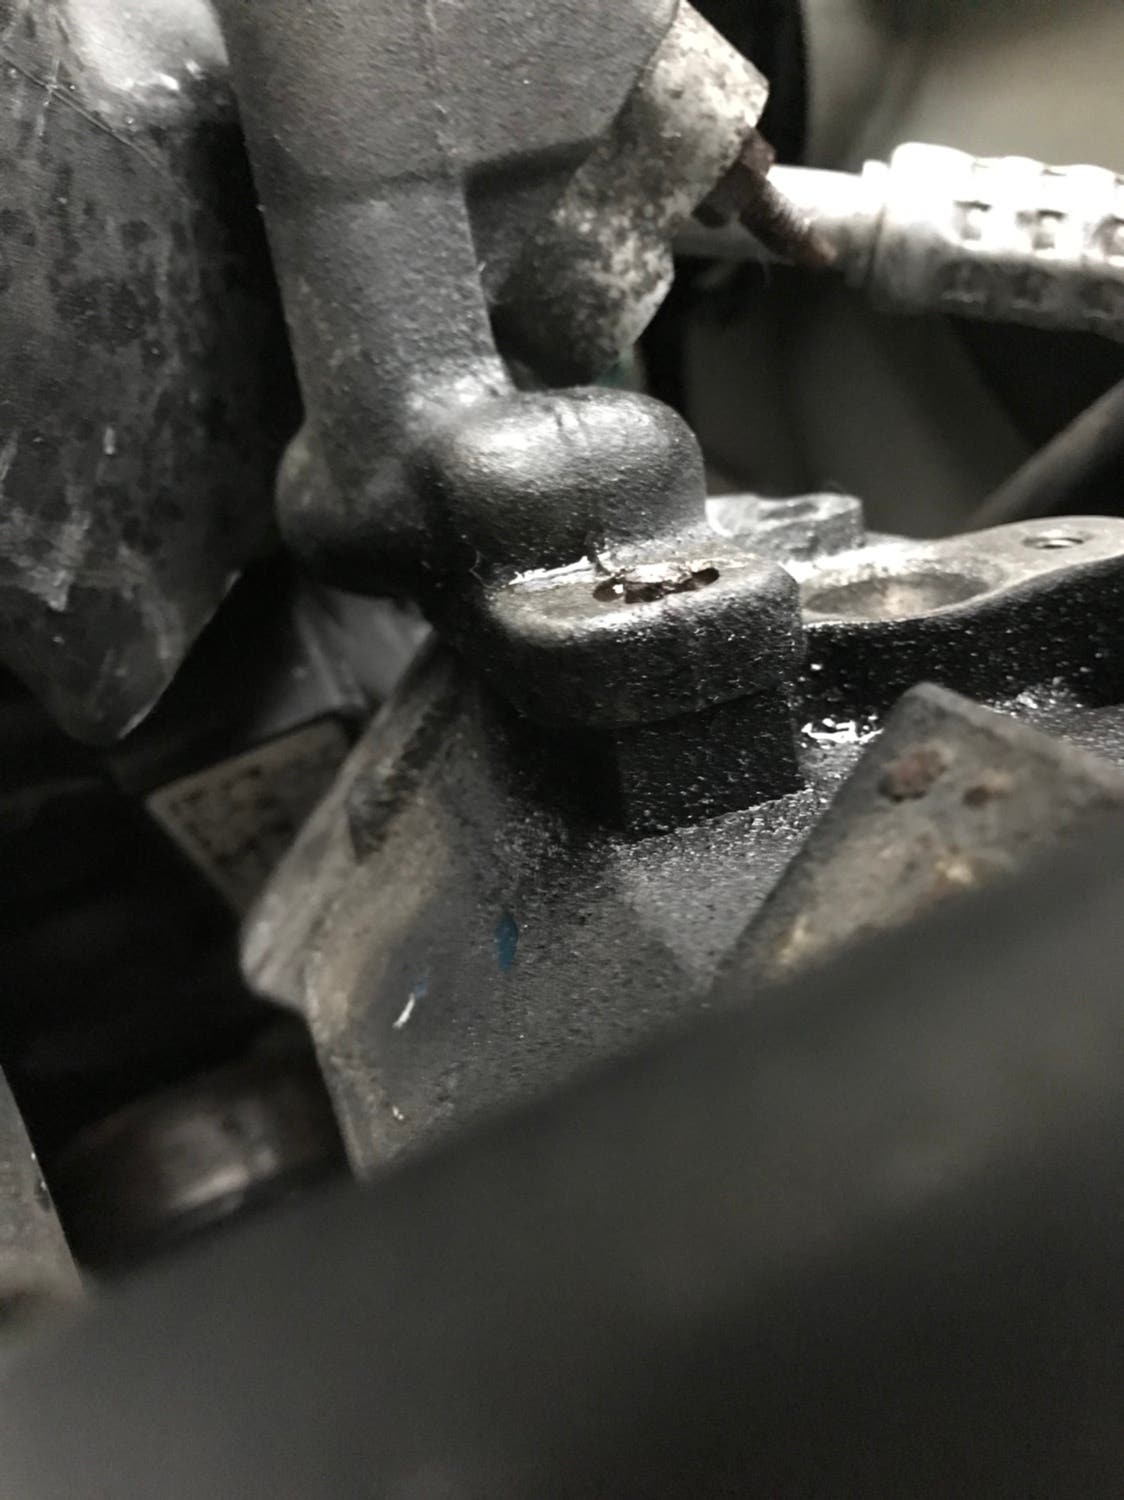
11) at this point I decided to grind the head off the one bolt that is not recessed:
![Image]()
Only minimal damage from the grinder. I was able to do this while the line was still connected, and of course I had the low side line taped off. The steel bolt and steel connection definitely threw off some sparks, but adjusting the guard on my angle grinder seemed to keep them off me and my eyeballs.
![Image]()
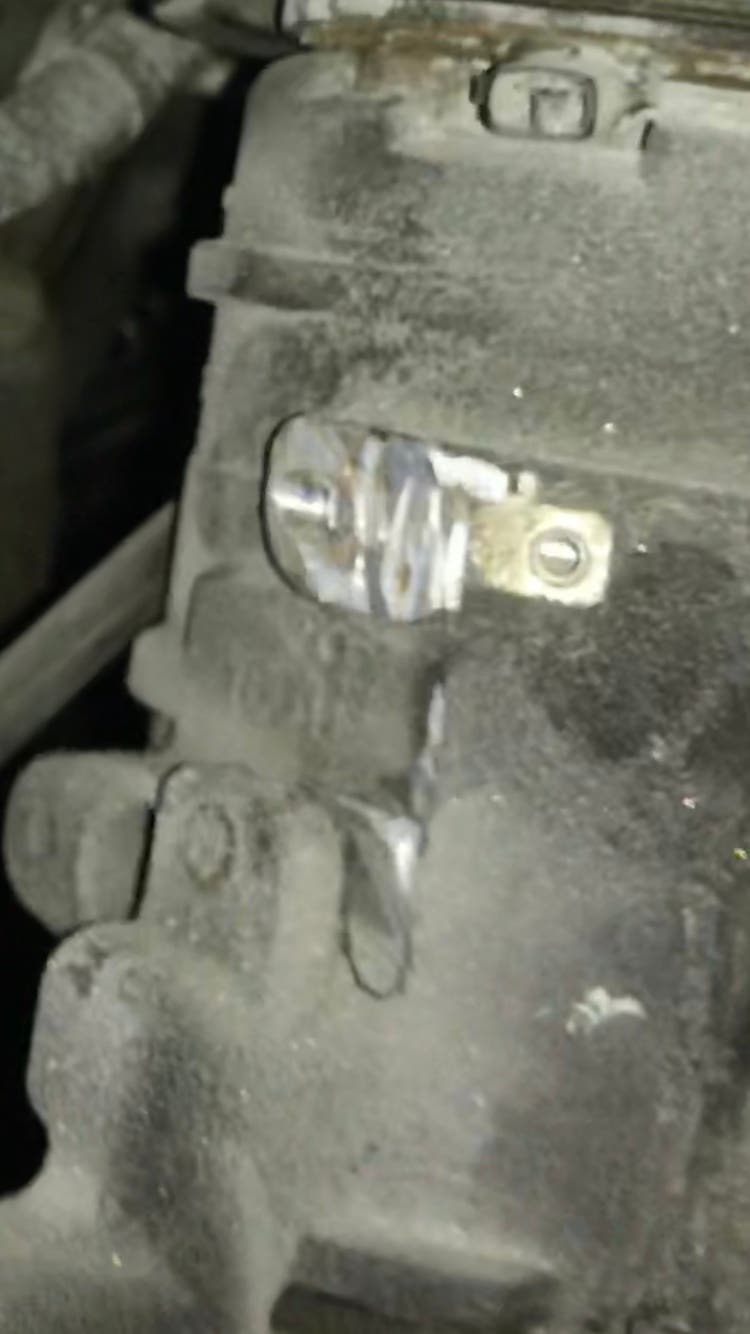
12) so now to figure out how to get that recessed bolt without damaging the high side fitting I need to reuse.
![Image]()
Ok. I see my angle:
![Image]()
![Image]()
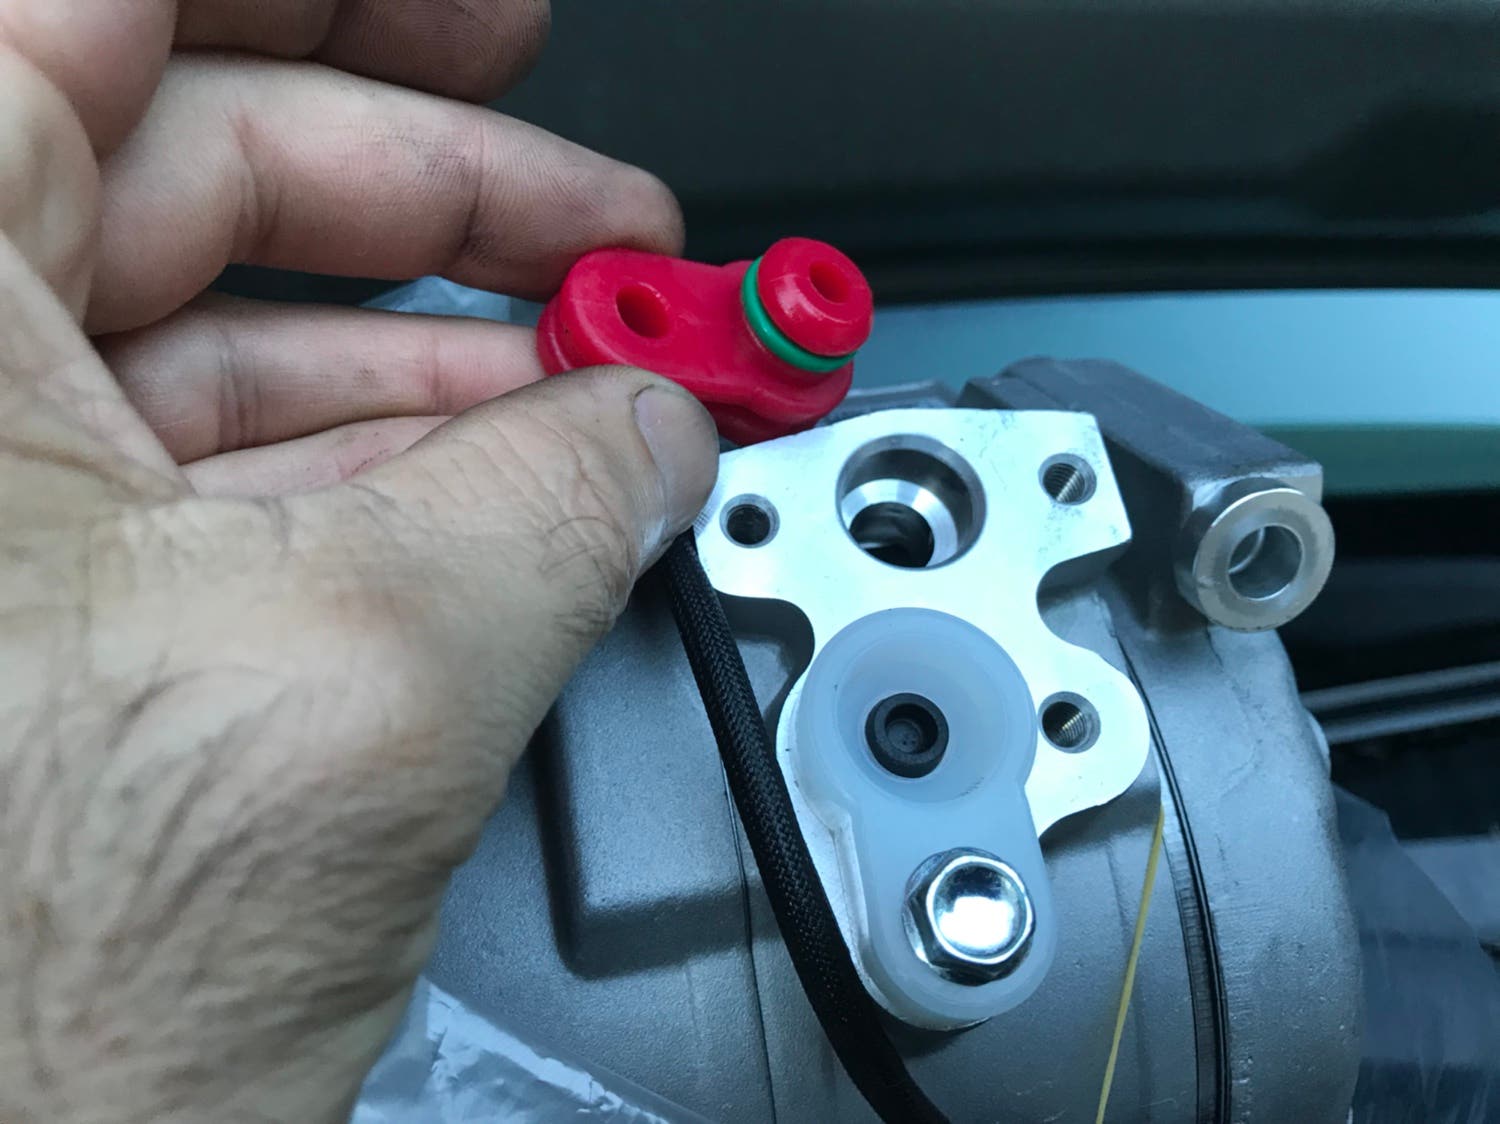
I was able to carefully pry the high side line fitting off the compressor at this point and begin the reassembly which was mostly uneventful with just a few small exceptions:
A) wire connection needed some help fitting all the way to the fan and clipping on. It wasn’t as nice of a clip as the original and the wire was a little short.
B) the darn tensioner and getting belt on. This has always been difficult for me. I had to bend a metal piece that had nothing other than a ground wire on it.
C) last but not least, after recharging the system BOTH my Schrader valves leaked. Sonova... well, on Friday I was out of time. I simply added a bit more charge on my mechanic’s recovery/charge/vacuum machine to bring it back up to pressure. I then removed the low side while low right after running the compressor (and it still wakes a little before I got the cap on), as then waited for the high sod erasure to drop from ~230 psi down to about 125 psi after about 15 minutes. It quickly went down to about 150, but I ad a few things to do for 15 min and it went to ~125. So I again got a little refrigerant loss and quickly got the cap on. I had noticed that the high side cap had a little oil in it. So as a suggestion for anyone doing a job like this (maybe asa first timer like me), check the caps for oil to see if maybe the schraeder valves should be replaced before recharging the system. I wish I’d replaced mine, and maybe a lot of other parts if I’d had more time to do this job right.
This was the version of compressor replacement that required:
1) about an hour to get system evacuated
2) ~4 hours to replace the compressor ~7:30-11:30 PM
3) ~1.5 hours to recharge
4) ~30-60 minutes to write up and share for anyone doin this job in the future.
The air was nice and cold on my 2 hour drive last night. I will report ack if/when my system fails as I never plan to get rid of this truck I’ve owned since new.
Sent from my iPhone using Tapatalk
Well my wife reminds me that I need to pickup my son and nephew at camp, and the classic roadster won’t work, and there’s a heat wave coming. Add Friday beach traffic, and I could be in for “worst uncle ever” award. So I scrambled to get my system vacuumed at my brother’s brother-in-law’s shop. He’s too busy to do the job any time soon (which is why it still hasn’t been fixed). He ordered me a compressor we hoped would arrive last night, but it came this morning, some cheap thing, not as cheap as eBay, but it arrived in less than ~15 hours. I got it today (Thurs) around 5 pm, and began my project around 6:45 pm. Fortunately I have no fender liners or under-shield/belly-pan installed while I monitor the oversized tires. I’ve got a service manual for my wife’s 2007 Pilot and took a look at steps.
Remove alternator? Really?
I took a look underneath and considered trying to remove the compressor from the bottom, but since I’d done the alternator on my wife’s pilot twice, I figured I could do that fast. I’m really glad I did. And I’m glad I had the bottom “pan” out too as it allowed me easy access to the compressor’s two bottom mounting bolts. The inside one was really corroded too. Removing and installing the alternator turned out to be the easiest part of the removal/install. Overall, the job was harder than expected though.
1) remove serpentine belt by cranking counterclockwise on the top idler (tensioner) pulley. I used the most shallow 1/2” drive socket I had and still bent some useless metal bracket.
2) remove the Power steering fluid mount (10mm) and put parts in the box the compressor came in.
3) remove alternator wiring (10mm bolts) and the two 12mm bolts on top that connect the alternator to the bracket, and the bracket to the motor.
4) remove the one bottom 15mm alternator mounting bolt, and wiggle the alternator out. Send it over to the passenger side where you unmonitored the PS fluid reservoir and its bracket. I removed the plastic cover for the PS fluid too.
5) unplug AC compressor wires. I disconnected at the clutch (but later realized that there’s a connection on the fan where the new compressor connects. My compressor came with a wire that barely reached that.
6) Disconnect the low side line with the single 10mm bolt. Tape off the end to keep moisture and debris out.
7) now this is where it starts to get interesting...
Notice that the high side has a crazy connection on it, and inspect all the bolts. Notice that a 5 mm is too small, a 6 mm is too big. Even a 5.5 mm wiggles. 7/32 seemed to maybe fit better, but both were stripping the tiny nuts:
Think. Think. Think.
Well, it’s not like leaving the Compresor mounted is stopping those tiny bolts from stripping. So...
8) remove the four compressor mounting bolts.
The bottom were very easy to get from under the truck with the plastic guard removed.
9) now with the high side still connected, raise up the compressor for a closer look.
10) Fail at trying to drill the head out of the top bolt that is recessed. Then take a better look at what can and can’t be damaged.
11) at this point I decided to grind the head off the one bolt that is not recessed:
Only minimal damage from the grinder. I was able to do this while the line was still connected, and of course I had the low side line taped off. The steel bolt and steel connection definitely threw off some sparks, but adjusting the guard on my angle grinder seemed to keep them off me and my eyeballs.
12) so now to figure out how to get that recessed bolt without damaging the high side fitting I need to reuse.
Ok. I see my angle:
I was able to carefully pry the high side line fitting off the compressor at this point and begin the reassembly which was mostly uneventful with just a few small exceptions:
A) wire connection needed some help fitting all the way to the fan and clipping on. It wasn’t as nice of a clip as the original and the wire was a little short.
B) the darn tensioner and getting belt on. This has always been difficult for me. I had to bend a metal piece that had nothing other than a ground wire on it.
C) last but not least, after recharging the system BOTH my Schrader valves leaked. Sonova... well, on Friday I was out of time. I simply added a bit more charge on my mechanic’s recovery/charge/vacuum machine to bring it back up to pressure. I then removed the low side while low right after running the compressor (and it still wakes a little before I got the cap on), as then waited for the high sod erasure to drop from ~230 psi down to about 125 psi after about 15 minutes. It quickly went down to about 150, but I ad a few things to do for 15 min and it went to ~125. So I again got a little refrigerant loss and quickly got the cap on. I had noticed that the high side cap had a little oil in it. So as a suggestion for anyone doing a job like this (maybe asa first timer like me), check the caps for oil to see if maybe the schraeder valves should be replaced before recharging the system. I wish I’d replaced mine, and maybe a lot of other parts if I’d had more time to do this job right.
This was the version of compressor replacement that required:
1) about an hour to get system evacuated
2) ~4 hours to replace the compressor ~7:30-11:30 PM
3) ~1.5 hours to recharge
4) ~30-60 minutes to write up and share for anyone doin this job in the future.
The air was nice and cold on my 2 hour drive last night. I will report ack if/when my system fails as I never plan to get rid of this truck I’ve owned since new.
Sent from my iPhone using Tapatalk
")


