Well I figured that I should move my build thread over from the Intro thread.
![Image]()
This is how she looks in her winter trim.
![Image]()
by GhostYK1, on Flickr
PIAA 4000K headlights and Yellow fogs, combined they are a huge improvement over stock.
![Image]()
Current setup;
Interior
Stock
Interior Electronics
Stock
Exterior
BakFlip Cover
![Image]()
by GhostYK1, on Flickr
Wheels/Tires & Suspension
Winter = Stock 17's w/Cooper Discoverer AT3 XLT tires
Summer = TSW Velencia 20" x 9.5" ET-40 w/245/45R20 103/Y Cooper Zeon Rs3-S tires
![Image]()
Engine
CAI w/3.5" Tubing
Stock MAF Sensor
Stock 3.5" MAF Housing
9" x 5" x 6" K&N Filter
6" x 3" Velocity Stack
![Image]()
70mm Acura ZDX Throttle Body
![Image]()
![Image]()
by GhostYK1, on Flickr
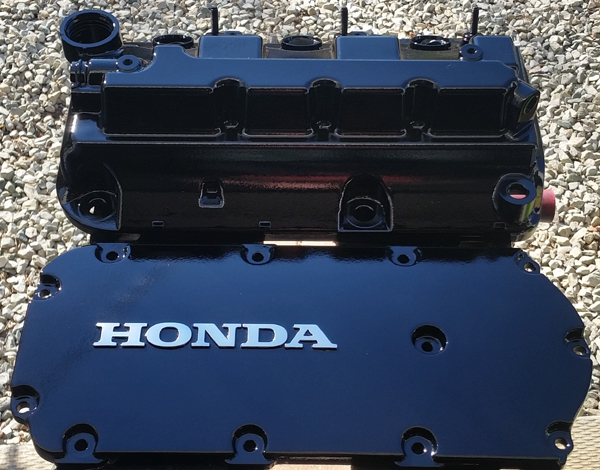
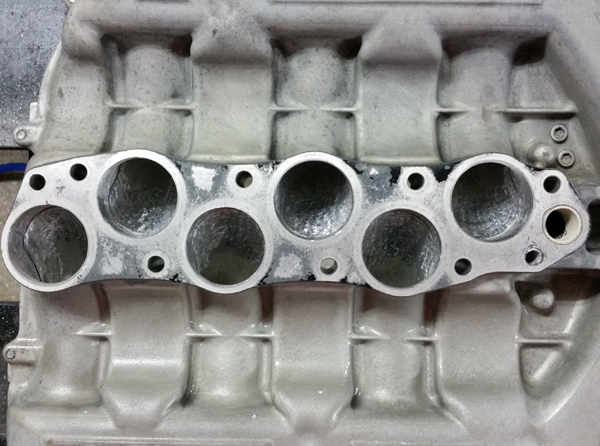
Port matched J35Z5 Intake Manifold
![Image]()
![Image]()
A set of BNIB OEM camshafts ground by Web Cam Inc. with a Bisimoto Engineering Stage 2 Street/Strip Profile.
![Image]()
Exhaust
RV6-P Pre-cat Delete
RV6-P J-Pipe
Modified 2.5" I/O Magnaflow High flow Catalytic Converter
Borla 2.5" Cat Back Exhaust
![Image]()
![Image]()
![Image]()
by GhostYK1, on Flickr
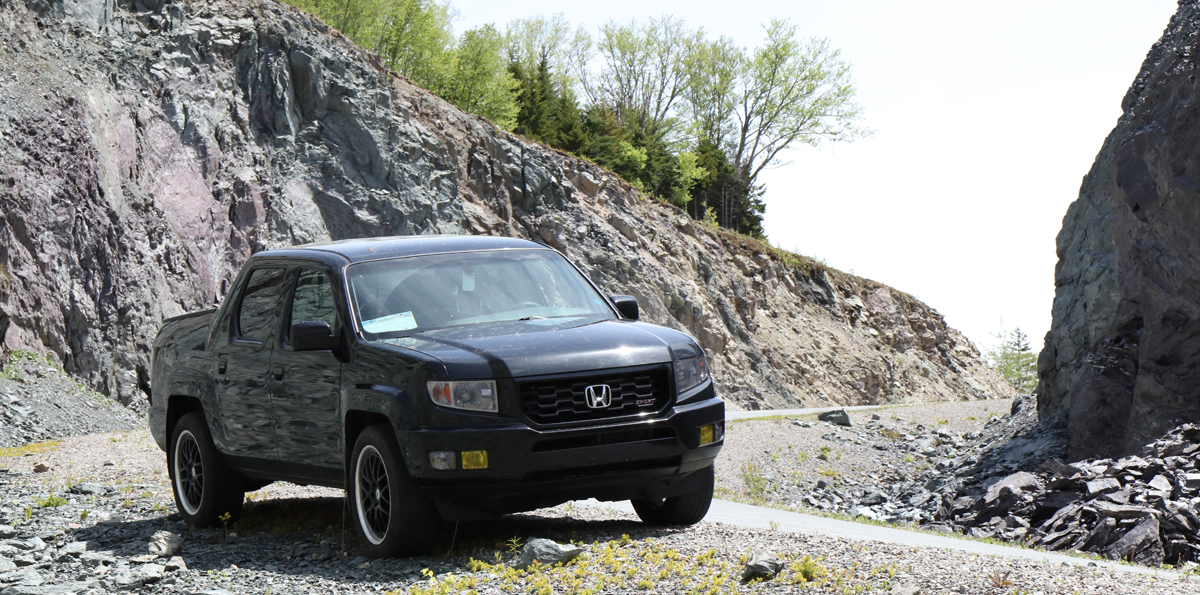
This is how she looks in her winter trim.

by GhostYK1, on Flickr
PIAA 4000K headlights and Yellow fogs, combined they are a huge improvement over stock.

Current setup;
Interior
Stock
Interior Electronics
Stock
Exterior
BakFlip Cover

by GhostYK1, on Flickr
Wheels/Tires & Suspension
Winter = Stock 17's w/Cooper Discoverer AT3 XLT tires
Summer = TSW Velencia 20" x 9.5" ET-40 w/245/45R20 103/Y Cooper Zeon Rs3-S tires

Engine
CAI w/3.5" Tubing
Stock MAF Sensor
Stock 3.5" MAF Housing
9" x 5" x 6" K&N Filter
6" x 3" Velocity Stack
70mm Acura ZDX Throttle Body
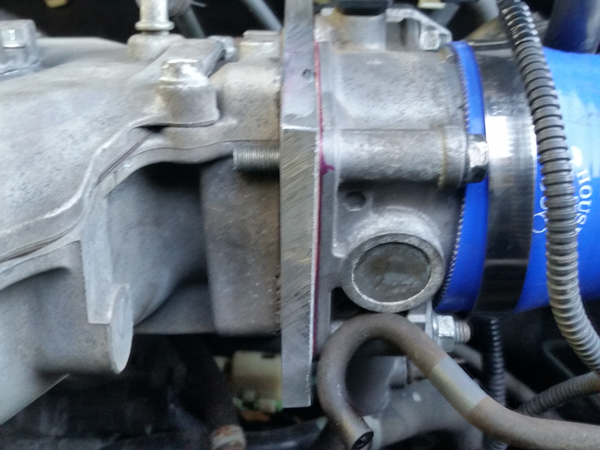

by GhostYK1, on Flickr
Port matched J35Z5 Intake Manifold

A set of BNIB OEM camshafts ground by Web Cam Inc. with a Bisimoto Engineering Stage 2 Street/Strip Profile.

Exhaust
RV6-P Pre-cat Delete
RV6-P J-Pipe
Modified 2.5" I/O Magnaflow High flow Catalytic Converter
Borla 2.5" Cat Back Exhaust


by GhostYK1, on Flickr


")